

mm.
"
mm.
"
Right side Left side
mm.
"
mm.
"
mm.
"
mm.
"
°
mm.
"
If you have other conditions or need further assistance please contact our customer service at T 855.365.5387 or E-mail dolle@dolle.com for further information.
Please verify your local Building Codes prior to ordering or installing a PROVA ALU system.
100 100
DOLLE UK LTD.

Notley GC
The Green
White Notley
Witham
CM8 1RG

Tel: 01376 528000
uksales@dolle.com

www.dolle-uk.co.uk


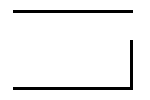


LAYOUT allows you to change the layout of your PROVA ALU railing system dimensions. You edit one length at the time.
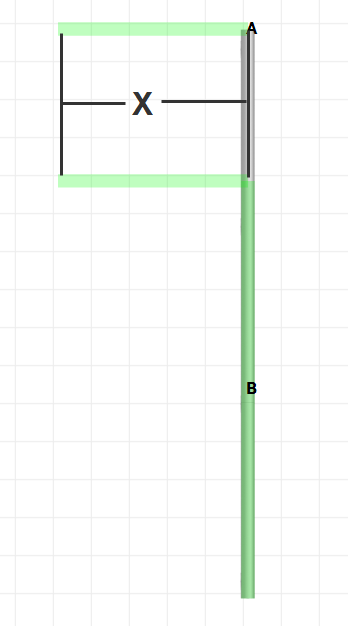
You edit one length at the time. To edit a section, select it. It is marked when it has the color GREEN. This selection can only be done by viewing the TOP view. TOP view is selected on the left.
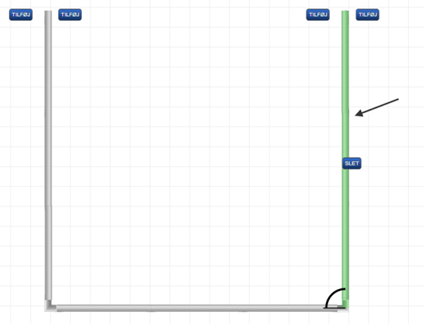
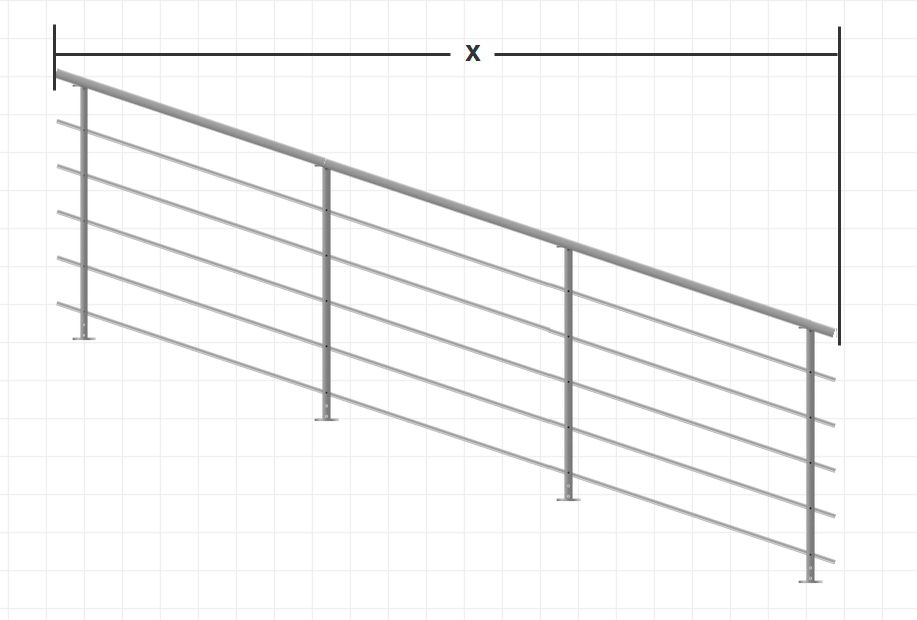
Length: Enter the length of the selected part of your PROVA ALU railing system
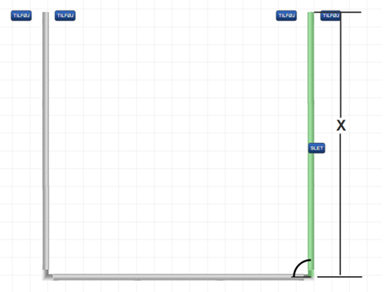
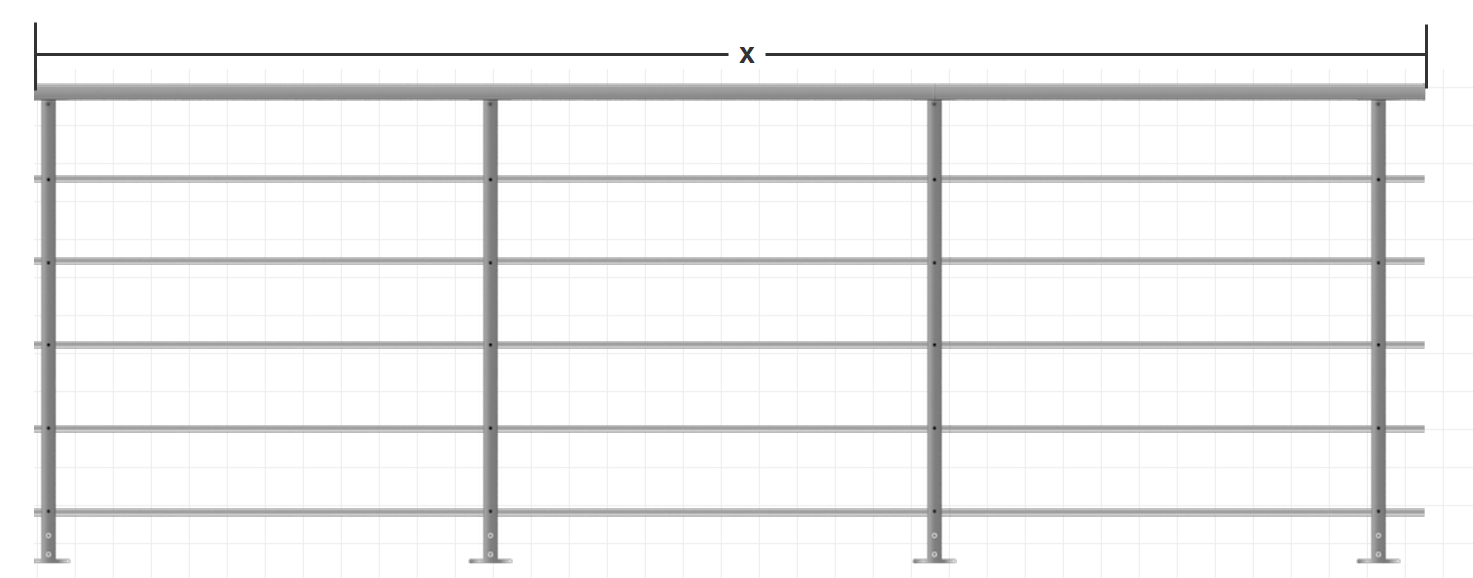
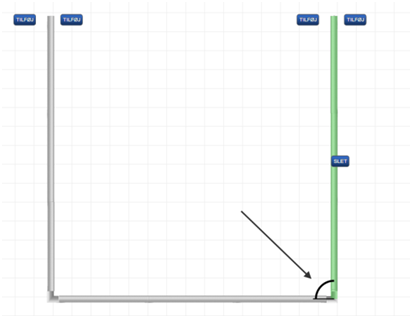
Angle: If your PROVA ALU railing system is not perpendicular to a house or if the angle between two railing sections are not perpendicular change the angle here. Be sure to select the railing part you want to change.
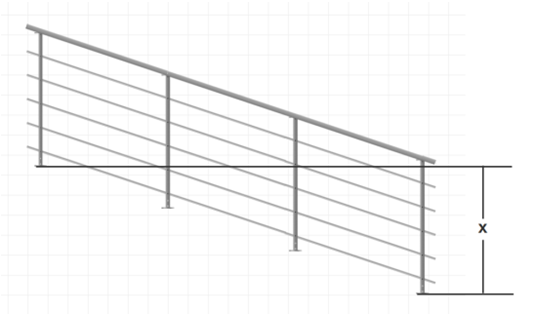
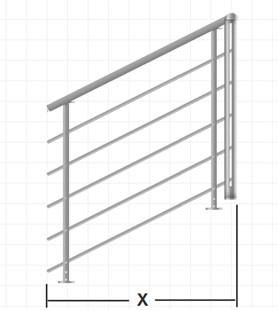
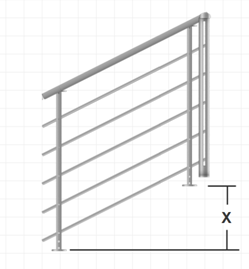
Pitch: The pitch on your PROVA ALU railing system is shown below.
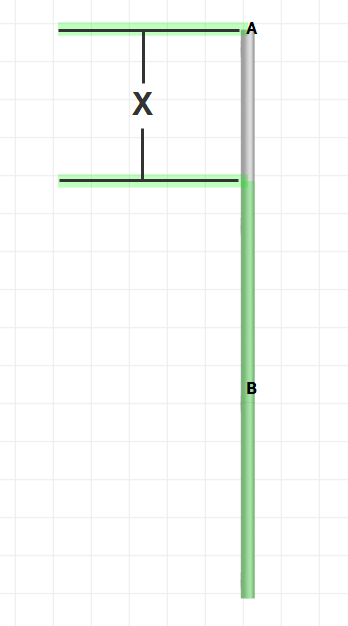
The decrease is measured as follows:
Wall-mounted handrail: Here you change the selected part from being a system of posts to being a wall-mounted handrail.

You can change it back by removing the check mark again.
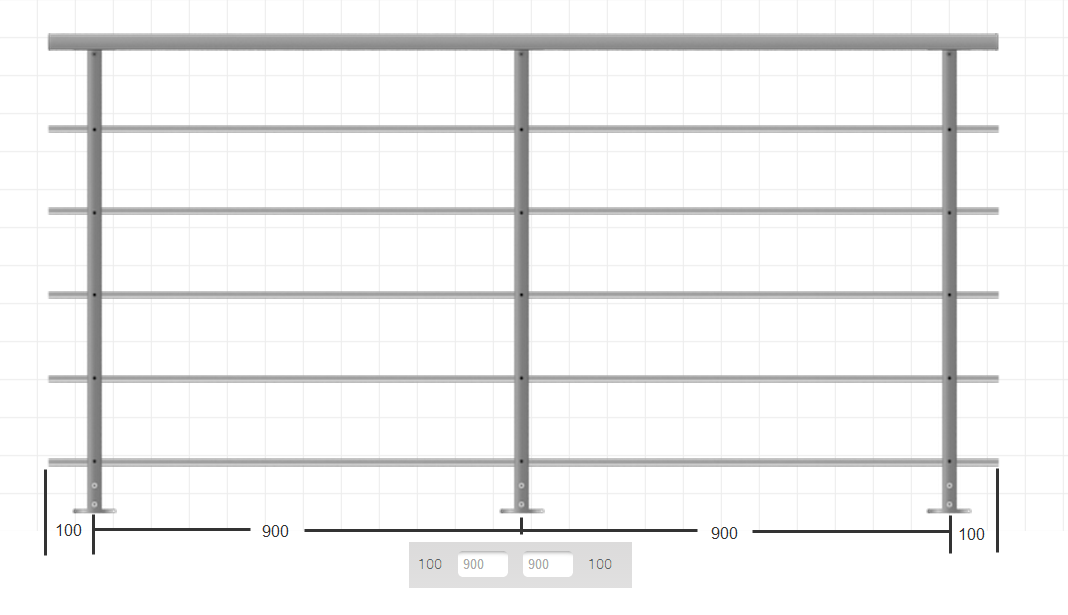
Mounting: Choose if the posts of your PROVA ALU railing system are side- or top-mounted. Be aware that your choice only affects the selected area.
Mounted in: Choose whether your PROVA ALU posts are mounted in concrete or wood.
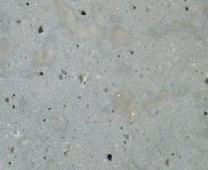
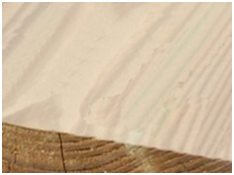
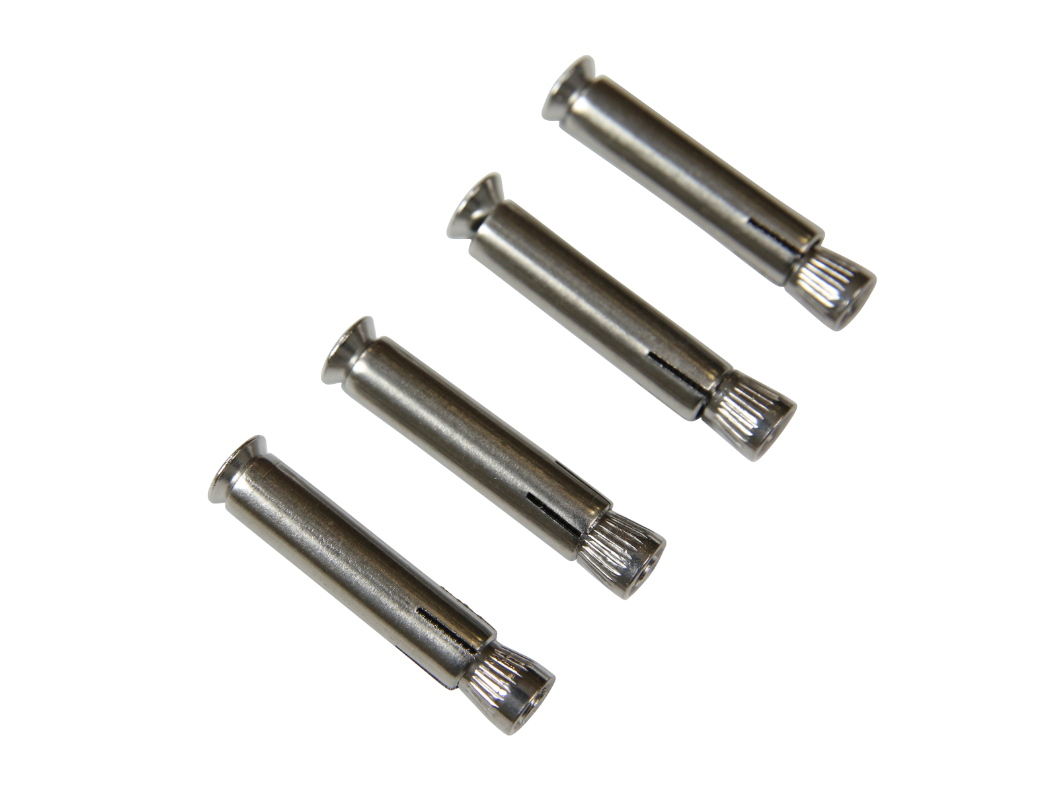
Concrete anchors: If your PROVA ALU railing will be secured in concrete, we recommend that you use concrete anchors.
PRODUCT contains the ability to set the stage for the PROVA ALU System. When you make a choice you do it for the whole configuration.
Under 'filling' you have the opportunity to choose PROVA ALU filling and handrail.
Sets out from PAB 80, PAB 81 90 PAB or PAB 91, it is not possible to opt out fillings or handrail. Here are 5 fillings + aluminum handrail standard.
Do you want the system without filling. Remove the checkmark from:

Filling type:
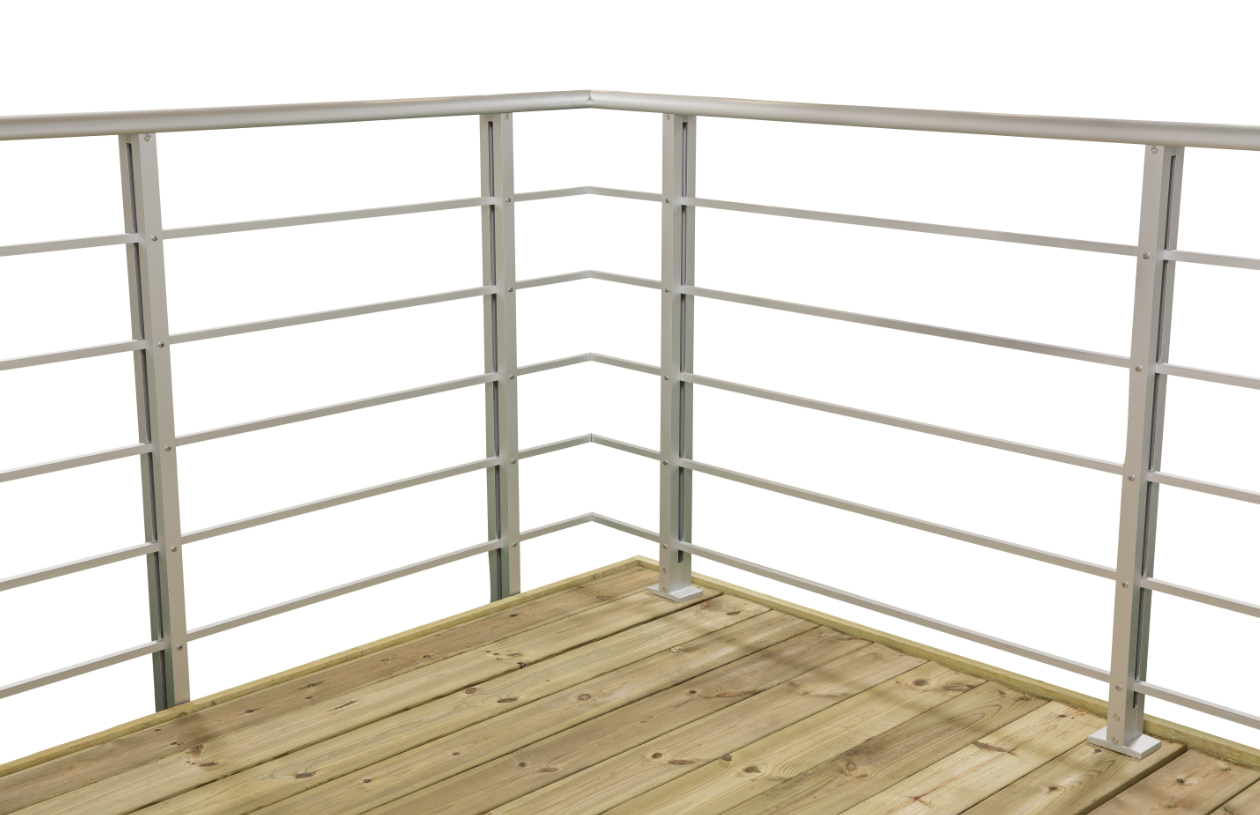
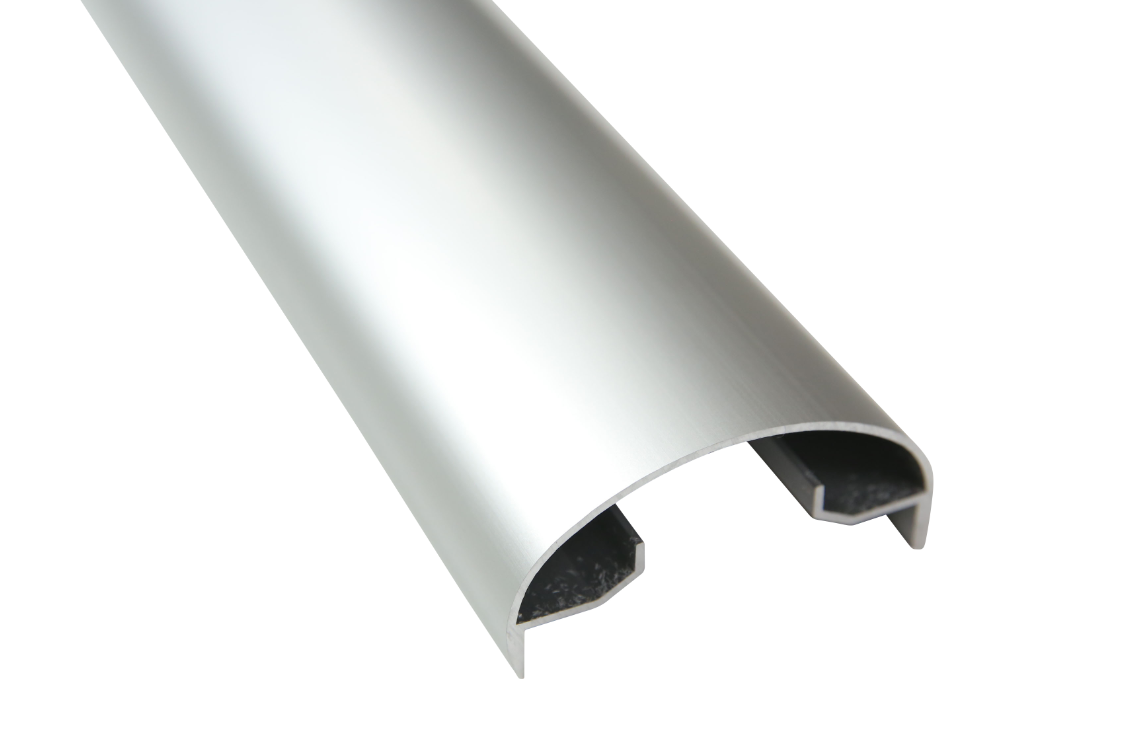
Handrail: Choose the material you want:
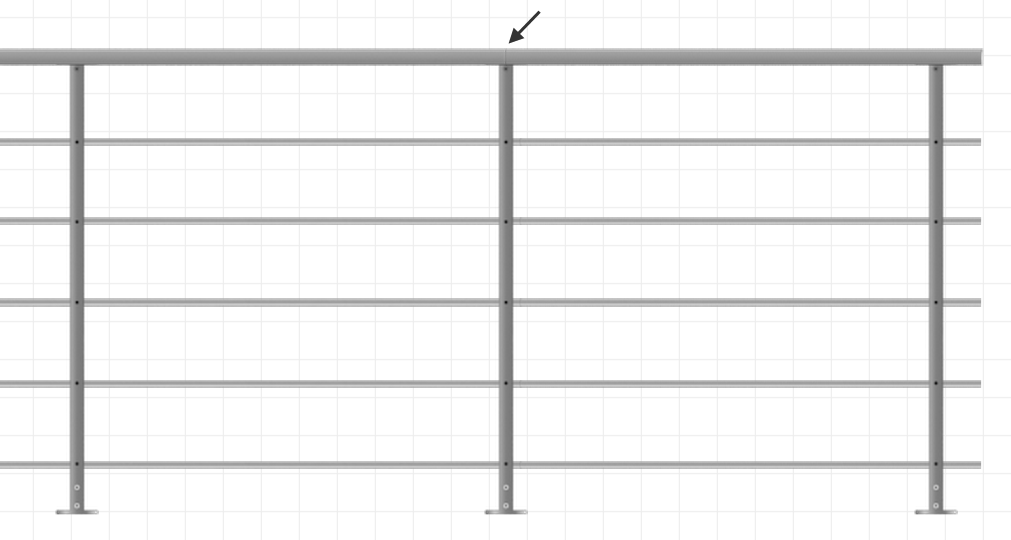
Number of handrails of 2 meters at the collection of post (recommended)
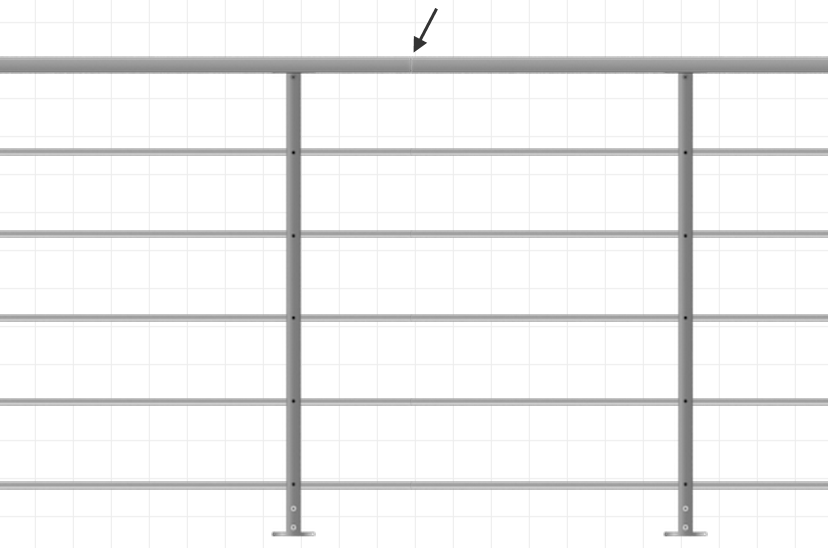
Number of handrails of 2 meters at the junction between posts
STAIRCASE provides you with the functions to edit and insert a staircase. Once you have configured the stairs press the 'INSERT STAIR' button and the stair is placed in your configuration.
Width: Enter the width of the staircase.
Length: Enter the Length of the staircase.
Height: Enter the height of the staircase.
Mirror: Flip the location of the staircase to the other side of the chosen handrail.
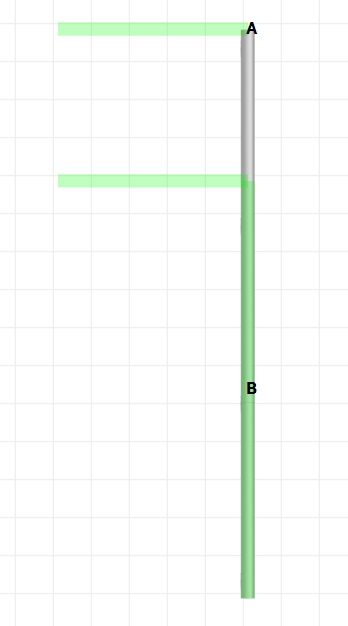
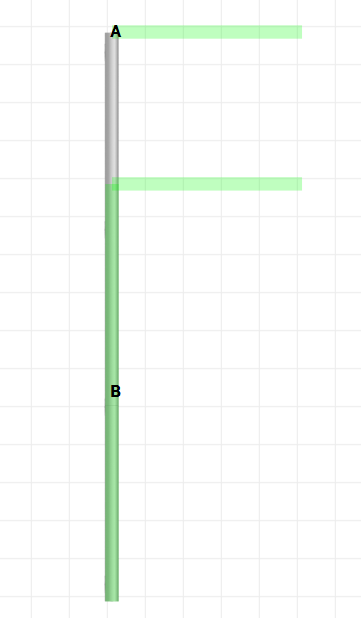
Distance A: Increase or minimize the distance from the end of the selected handrail to the near side of the staircase.
Distance B: Increase or minimize the distance from the end of the selected handrail to the near side of the staircase.
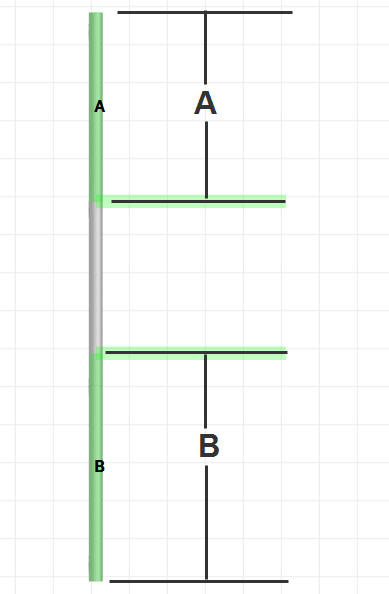
Finish the stair by pressing the 'INSERT STAIRCASE' button and the stair is placed in your configuration. This is also where you remove an already added staircase.
