mm.
"
mm.
"
Højre side Venstre side
mm.
"
mm.
"
mm.
"
mm.
"
°
mm.
"
If you have other conditions or need further assistance please contact our customer service at T 855.365.5387 or E-mail dolle@dolle.com for further information.
Please verify your local Building Codes prior to ordering or installing a PROVA ALU system.
100 100
DOLLE A/S

Vestergade 47
7741 Frøstrup
Denmark

Tel. +45 97 99 14 22
dolle@dolle.com

www.dolle.eu


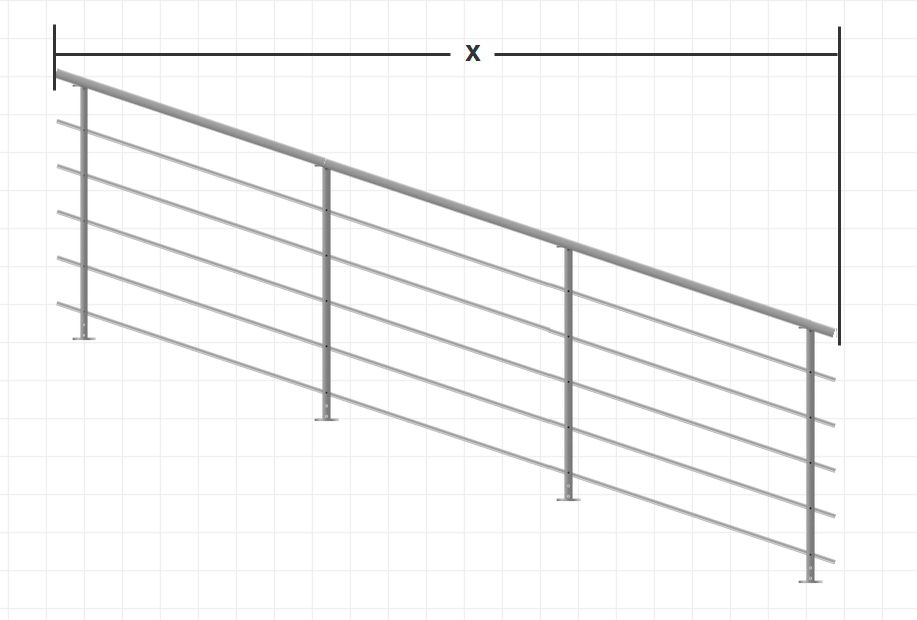
This allows you to change the layout of your PROVA ALU BASIC railing system dimensions and drop by for example railing on a staircase ..
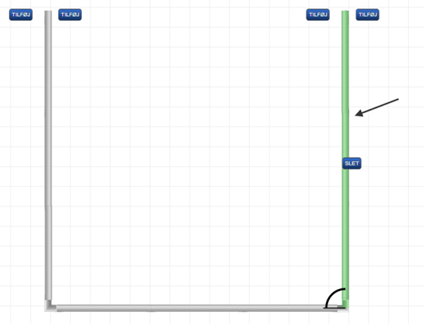
You edit one length at the time. To edit a section, select it. It is marked when it has the color GREEN. This selection can only be done by viewing the TOP view. TOP view is selected on the left.
Længde: The length of the selected part of your PROVA ALU BASIC railing:
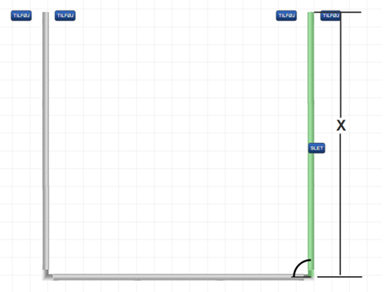
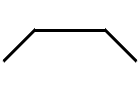
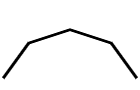
Vinkel: If Your Prova Alu Basic railing does not lie perpendicular to for instance a house or if the angle between two railing sections are not perpendicular you change the dimensions here. Again, be sure to select the railing part you want to change.
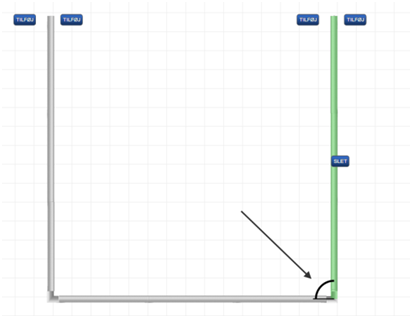
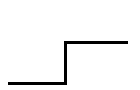
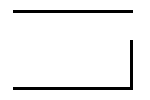
Fald: In the case where your PROVA ALU BASIC railing.
Faldet måles således:

Vægmonteret håndliste: Should your PROVA ALU BASIC handrail mounted on the wall without the need for post please check this box.

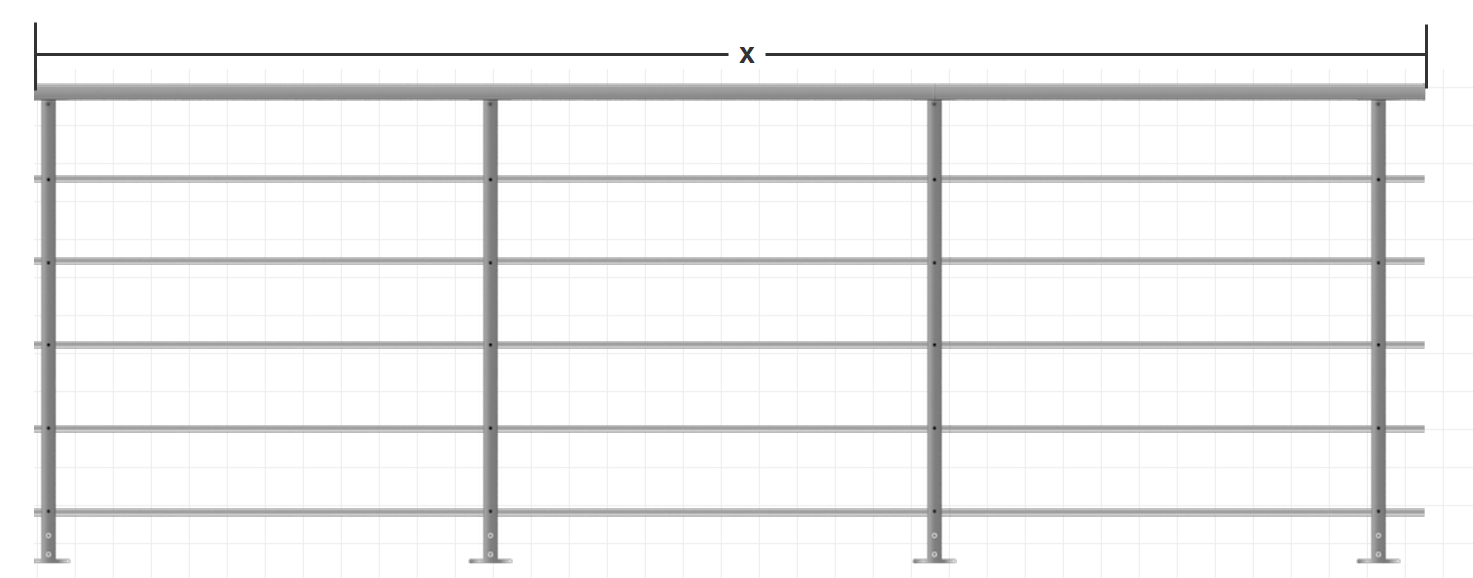
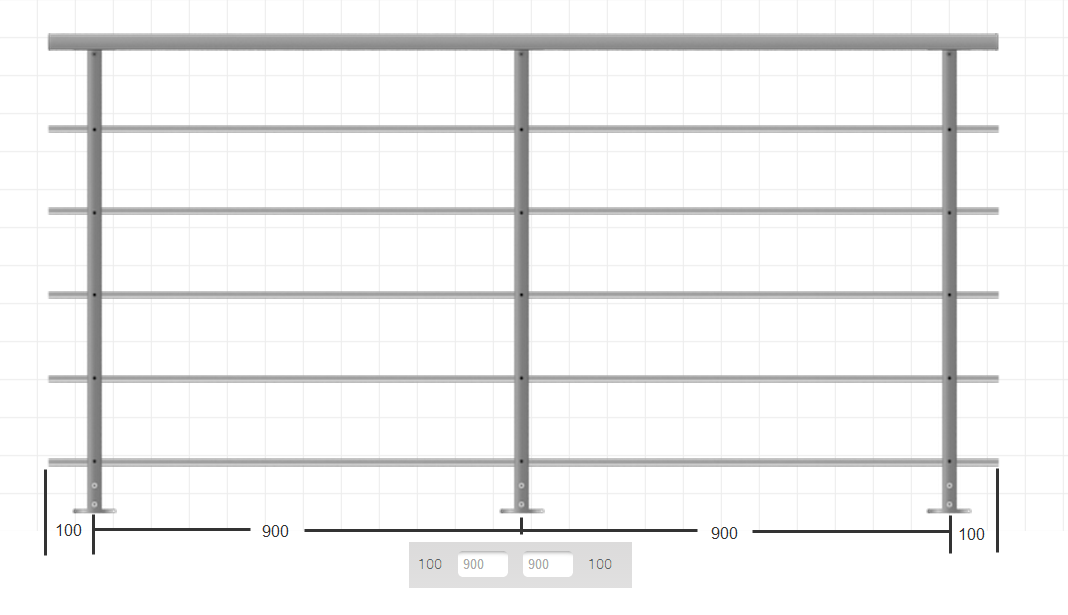
We spread the posts as shown here. Want a different distance, you can write other targets in the white fields. The measurements are displayed in millimeters. We recommend that you fill in these fields to ensure that you get the correct handrail connections.
Montering: Choose your PROVA ALU BASIC post must be wall or floor mounted.
Fastgøres i: Choose your PROVA ALU BASIC post must be installed in concrete or wood.
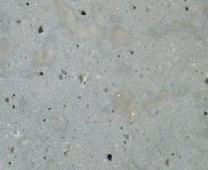

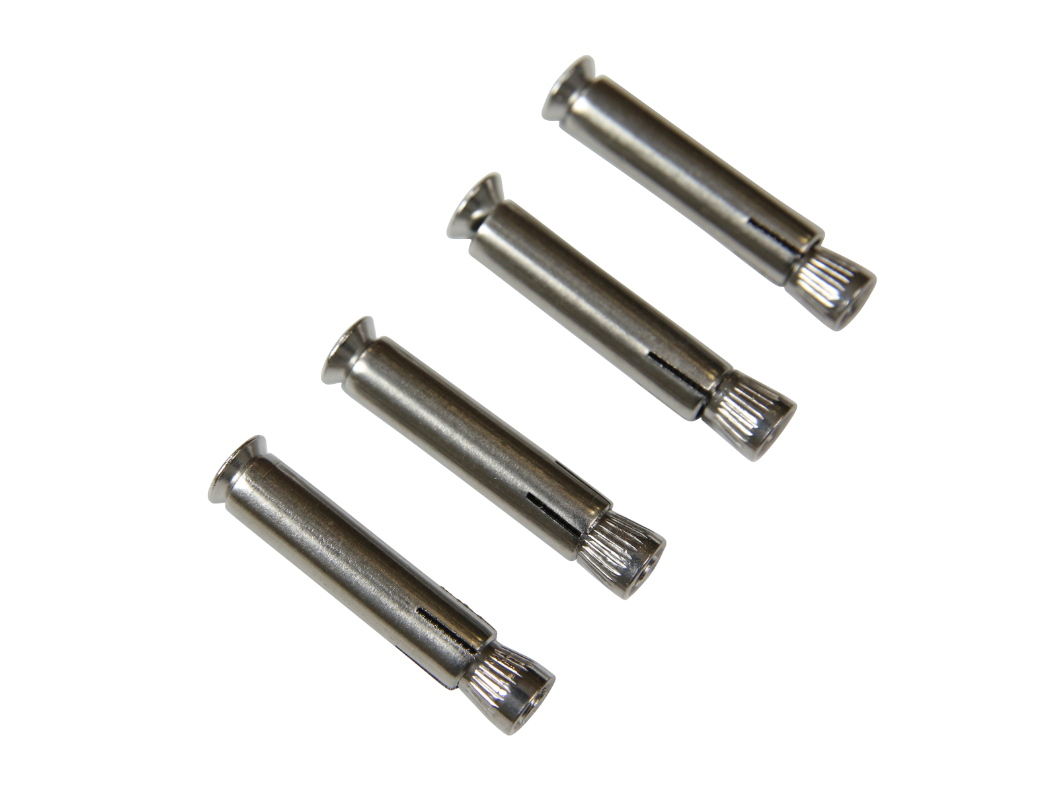
Expansionsbolte: Should your PROVA ALU BASIC railing secured in concrete, we recommend that you use expansion bolts.
In PRODUCT, you can change the settings for PROVA ALU BASIC post. Again, it is the selected part you edit. If the same setting is used on multiple sides, you must manually transfer them to other lengths. This is to ensure that you get Prova ALU BASIC railing exactly as you want it.
Under 'filling' you have the opportunity to choose PROVA ALU BASIC filling and handrail.
Sets out from PAB 80, PAB 81 90 PAB or PAB 91, it is not possible to opt out fillings or handrail. Here are 5 fillings + aluminum handrail standard.
Ønsker du systemet uden fyldning. Fjern da flueben fra:

Fyldningstype:
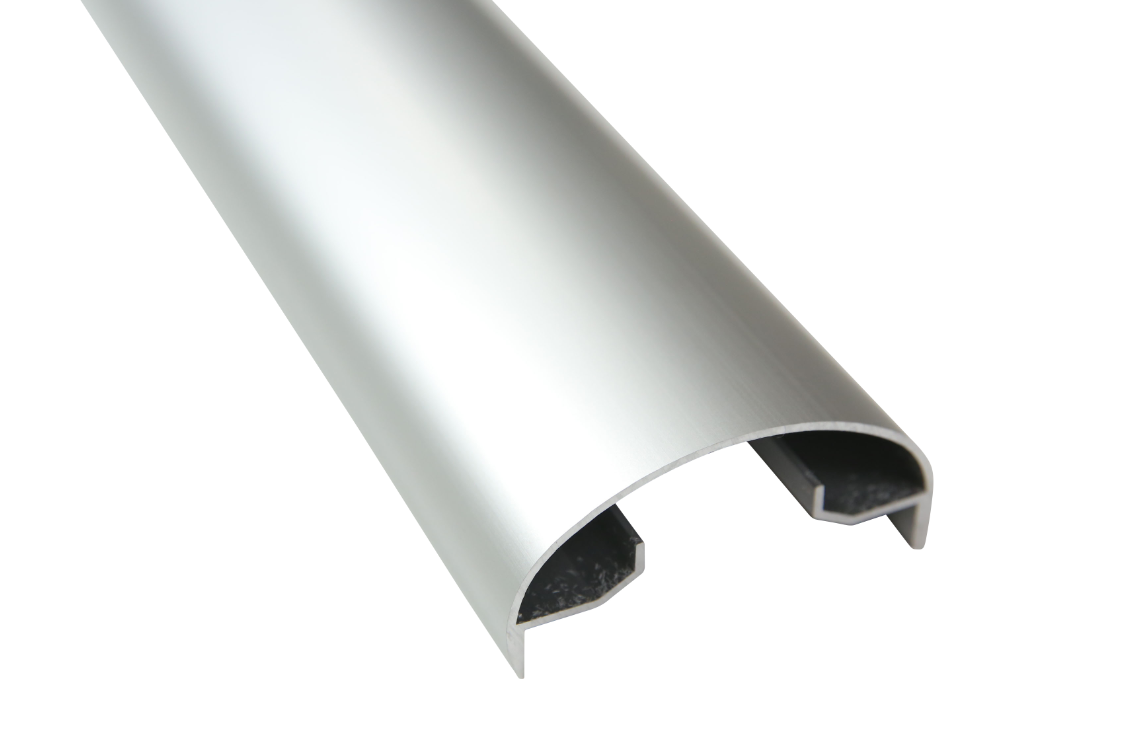
Håndliste: Vælg hvilket materiale du ønsker:
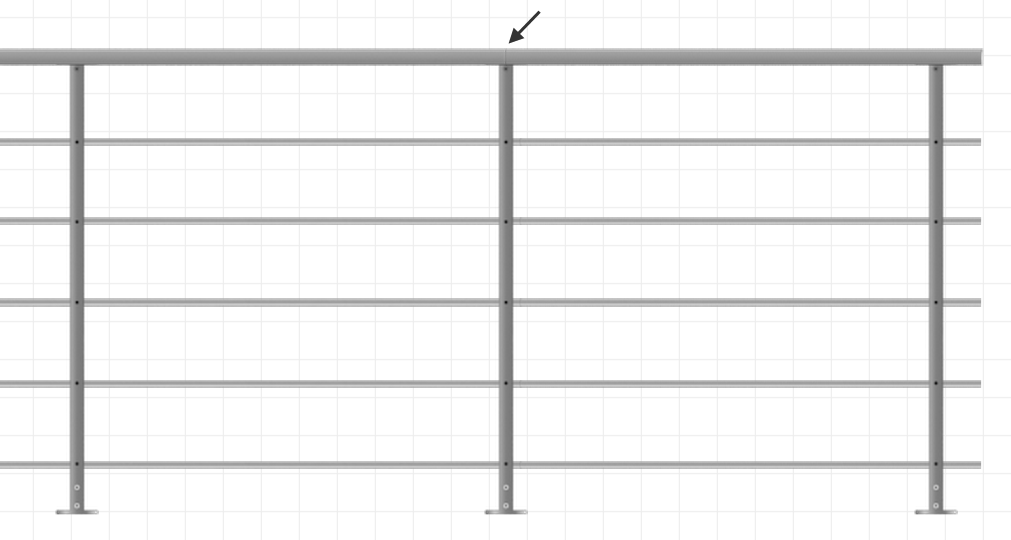
Antal håndlister á 2 meter ved samling over stolpe (anbefalet)
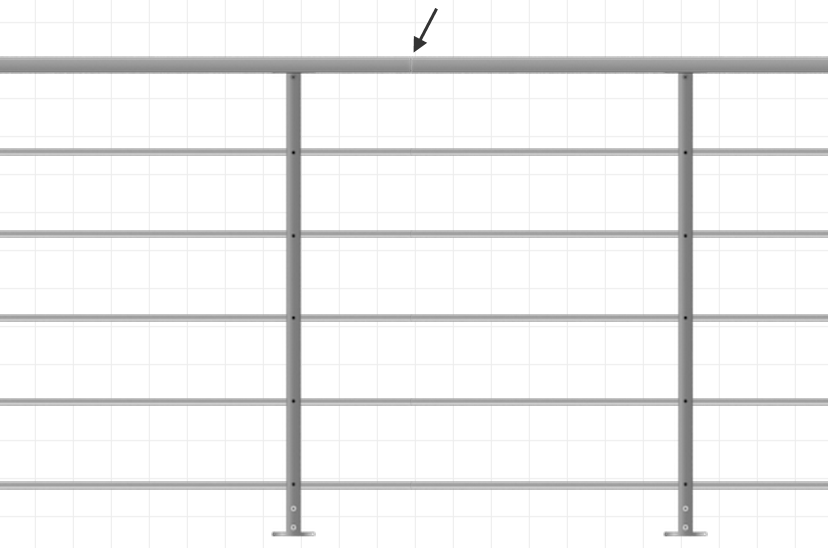
Antal håndlister á 2 meter ved samling mellem stolper
Under dette faneblad kan du redigere og indsætte en trappe. Når du har opstillet trappen trykker du på knappen 'INDSÆT TRAPPE' og trappen placeres i din konfiguration
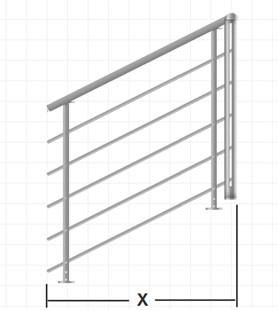
Bredde: Trappens bredde.
Længde: Længden fra start til slut af trappen.
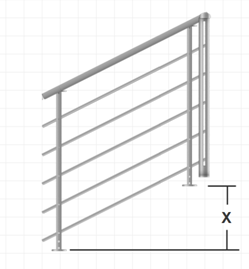
Højde: Trappens højde.
Spejlvend: Spejlvend trappens placering
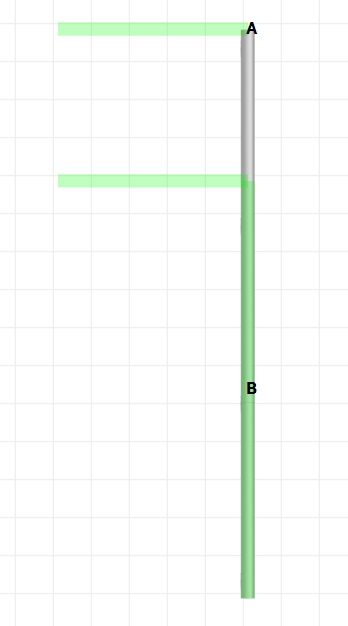
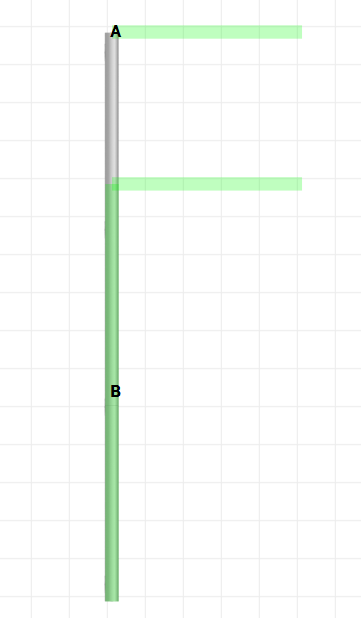
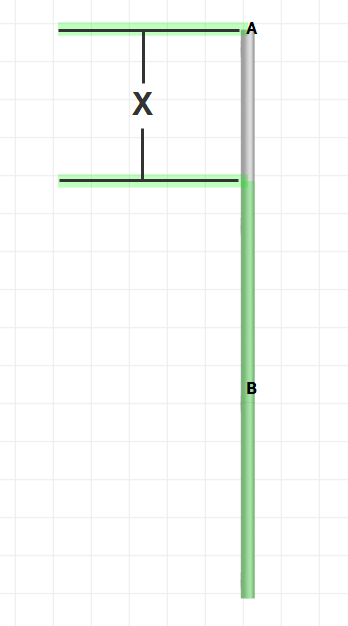
Afstand A: Øg eller minimer afstand fra enden af gelænderet til nærmeste side af trappen.
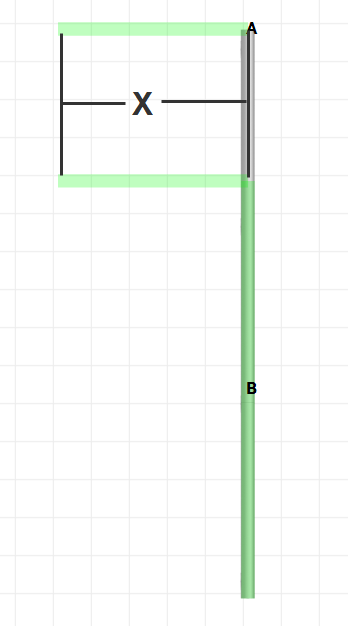
Afstand B: Øg eller minimer afstand fra enden af gelænderet til nærmeste side af trappen.

Afslut med at indsætte trappen i gelændersystemet.